Turning off centre

The third post in my trivet series. There is a video at  the end of this post.  Having marked out the centres and marked them with a scratch awl the next thing is to get turning. The two piece jam chuck allows the blank to be moved. The backing plate is attached to the lathes by a face plate in this instance. It is possible to glue a piece of wood to the backing plate or if thick enough turn a Tenon. The choice is really yours. I thought that a $12 face plate was cheap enough. I can always reuse it for another project.

The chuck that takes the turning plank has recess  6 mm recess that is 150 mm in diameter. Continue reading “Turning off centre”

Marking out the trivets

The second post on the subject of trivets. I have been attempting to make the trivets which feature concentric circles on one side and three circles on the reverse side. Each of the circles must be turned off centre. The attached video shows laying out the off centre circles. The blank is 150 mm in diameter and about 15 mm thick. Two concentric circles are dawn one being 70 mm the other 140 mm. Use the indexing feature of the lathe to divide into sections. I used the first six points and the tool rest to section the blank. Continue reading “Marking out the trivets”

Actually making trivets

I have written previously about making trivets, back in September last year. In the earlier post I described making the trivets. This then is the first in a series of posts that describe and show how I made the trivets. I finally decided in December 2012 to get on with it and finish some trivets before Christmas. Essentially they are a 150 mm wooden disk about 15 mm thick. One side has a series of concentric circles turned on the face to half the depth of the disk. the obverse has a group of three concentric circle turned to a similar depth. Continue reading “Actually making trivets”

More wood for turning

Well the collecting continues. I picked up some lengths eucalyptus from work. Nice pieces about 10 inches in diameter. Possibly blue gum and some iron bark. Ends have been sealed now they wait.

20121222-222021.jpg

Wood for turning

I was advised recently to use some Jacaranda for a project. I have been lucky enough to find some at a house that is being renovated. Sadly or otherwise the owners were not there so I left a message saying that I was an amateur wood turner and the logs were going to a good home.  Recently I attended the working with wood show in Melbourne.  One of the demonstrators recommended Jacaranda as a wood that turn well even if freshly cut. Fear not the ends have been waxed and dated and are now resting in my growing stockpile.

20121212-130403.jpg

Enhanced by Zemanta

A Gavel of an idea

Turned a gavel the other for no other reason that I thought it might be a good idea. I saw a mallet in a recent woodworking magazine so this became my inspiration. I had started the session by turning a handle for an old hammer. This was done off centre and got me thinking about the gavel.

No plans just in at the deep end. I cut the blank from some scrap of red gum that I had bought from the local garden centre. Its amazing  what can be made from firewood! I roughly cut the head of the gavel to  size and drilled a 20 mm hole with a forstner bit. discovered later that I should have squared up the blank as the hole wasn’t perpendicular.

I wasn’t too fussed with the finishing of the head and the beads are not the same either end. I suppose it makes it easier to see which way is which. The handle was also inspired in the moment. I took the looks right and shaped it by sight. The narrowest part of  the handle is the same size as the tenon that is inserted in to the head. My only real design consideration!

The cup or base was turned  and shaped with a bowl gouge. I finished it with a newly acquired Robert Sorby RoundSide Cut Scraper H24H. This profile is favourite of mine useful and easy to sharpen.

My wife has taken the gavel to school to keep order in the classroom.

Finished Gavel


Enhanced by Zemanta

Trivet

My current challenge in wood turning is to make some trivets out of wood. The feature of the design is concentric circles on each face of the trivet. The overall size is 150 mm in diameter and 15 mm thick. One face has concentric circles that are radiating out from the centre. The opposing side has a group of three concentric circles. The cuts are made with a parting tool to a depth that is half the thickness of the trivet.

Small feet are turned from a contrasting timber. This has the trivet sitting off the table and highlights the details of the circles.

In order to complete this project I have  construction a jam chuck. This will be constructed from 18 mm MDF. It is a 2 piece construction  with a 2220 mm backing plate that attaches to the lathe. I used a 50 mm face plate but a wooden piece could be turned and glued to the backing place as a means of attaching it to the lathe with chuck. The jam chuck is nothing more than another piece of MDF  approx 165 mm in diameter.


It is important that the jam chuck is centered on the backing plate. I use the point of a skew chisel to find the centre of the backing plate. Attached the piece that will become the jam chuck through the centre to the backing plate. Locate and drill two holes on the outer edge making sure that they are well outside the 150 mm diameter.  Remove the centre screw and turn a recess 150 mm in diameter to depth of 6 mm. This jam chuck will allow the concentric circles to be turned on both sides.

The idea comes from  an article entitled Heat Shield in the April 2011 issue of The Woodworker.
 

Enhanced by Zemanta

A three sided bowl

This bowl was made from a lovely piece of black wood. Not sure of the exact botanic name but it’s an Australian native. I have blogged previously about off centre turning. That post can be found here.
This bowl is better finished than the previous off centre bowl.

20120812-213702.jpg

20120812-213757.jpg20120812-213722.jpg


Triton still going strong

The old Triton 2000 is still going strong! Although I wish I had a nice new table saw the old triton still works well. I inherited an old pantry cupboard courtesy of a friend. I have converted the cupboard to a laundry storage cupboard. The original was 1400 mm wide and 600 mm deep. The new cupboard is 1200mm wide and 335 deep.
The sliding extension table featured in the photo made the work very easy. It’s easy to forget the portability of the Triton workbench. A table saw wouldn’t Be moved to another location like the Triton. A dedicated woodworking blog called Stusshed also remembers the glory days of this Australian legend.
I can only say that it has and I suspect will continue to serve me well.

20120714-205913.jpg

Capitals

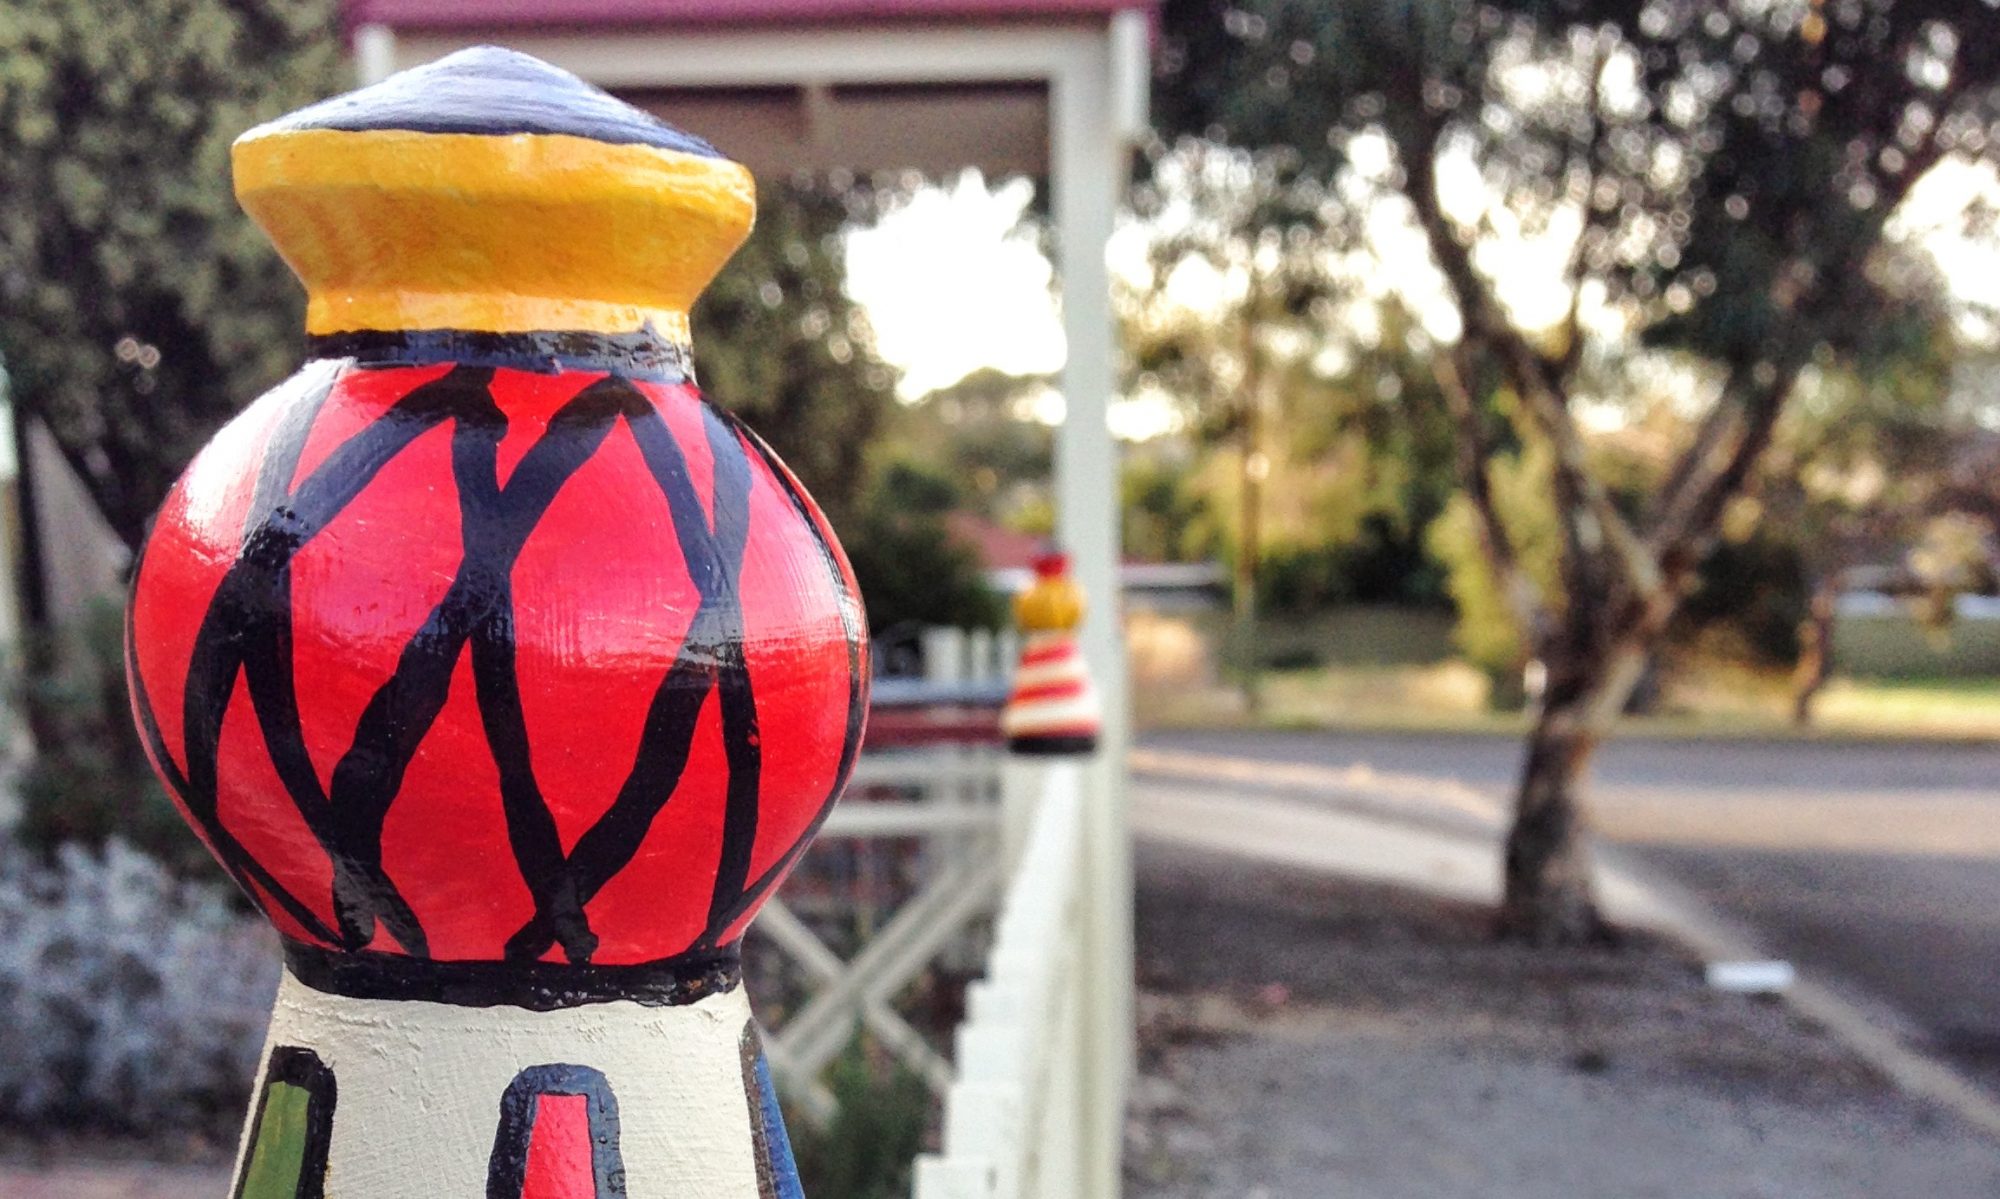
The first practical thing I have done since taking to turning. I have a picket fence with some plain fence posts. Capitals were the answer to dress the fence up a little After some discussion with swmbo I came up with a design to suit our place in Port Elliot, South Australia.

I have used the lessons learned in class and created a template after making a prototype. Each capital is 170mm high and 85mm at the base. I made ten so it was good practice. Repetition really does help with tapers and spheres.

The photos tell the rest of the story.

20120703-214025.jpg20120703-214116.jpg20120703-214131.jpg20120703-214147.jpg

The pictures show the blanks being prepared and final photo is the collection of Capitals.